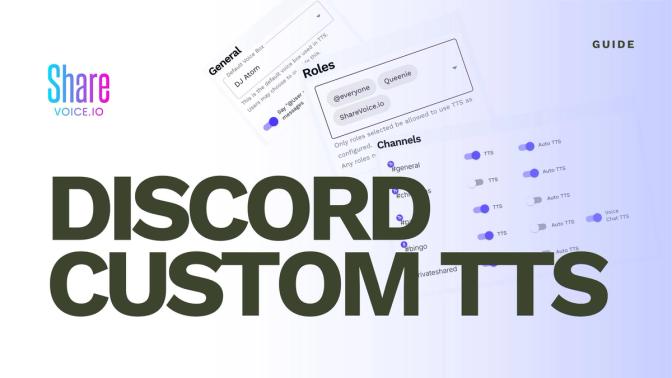
Custom TTS on a Discord Server
Voice chat is a core part of any great Discord community, but sometimes text-to-speech (TTS) can feel robotic or uninspiring. What if you could use voice clones that sound just like your favorite character, celebrity, or even yourself?
Best of all? It’s incredibly easy to set up—no technical skills required or annoying permissions to deal with! 🎉
- What Am I Getting Into?
- Invite ShareVoice.io to Your Server
- Speak with Your Voice!
- TTS Management
- Talking in Voice Channels
- Advanced Settings
- Wrapping Up
Prepare for a simple guide on to use ShareVoice.io to add voice clone TTS to your Discord server, how to use them, & available management tools.
Don't worry this is a five minute read, setup is less then 5 minutes, there's no complicated permissions management.
All the software also supports mobile so don't fret about not being on desktop.
And yes there are free monthly voice uses 😉.
- Invite the bot
- Select your server and grant the required permissions.
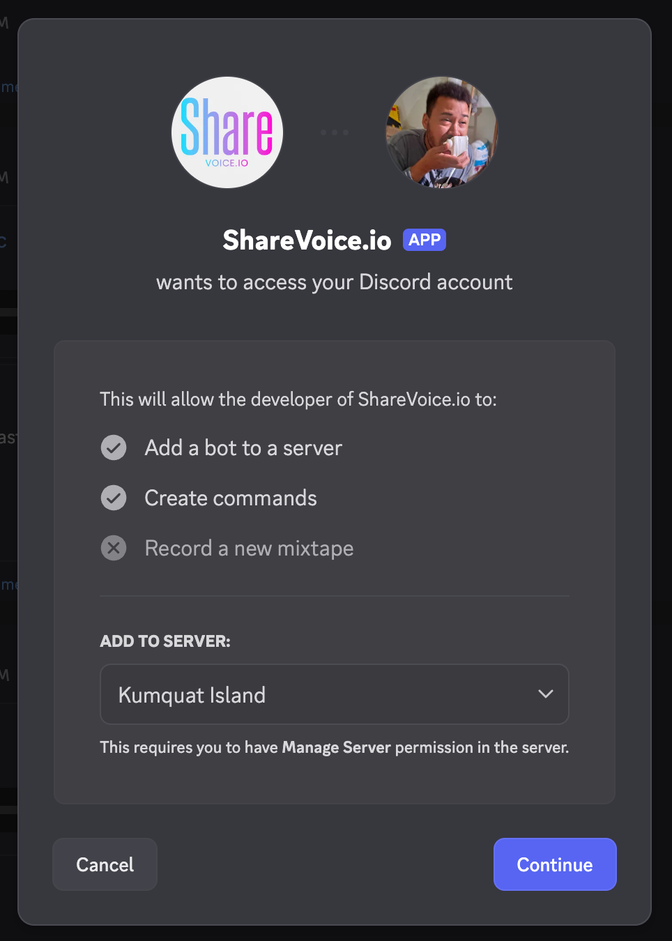
👉 The bot needs permission to join voice channels and send messages to work properly!
Choose Your Voice
Once the bot is in your server, you can browse a variety of voices!
- Type
/selectin any chat to see the available options. - Select a voice that fits your style!
🔹 Want to use your own custom voice? We provide a self-service voice cloning UI. Just email jamie@sharevoice.io!
Now comes the fun part! Just type:/say The onion is ready for the pasta
And be amazed as the bot replies to your command with your phrase.
TTS is great but you might not want it available in EVERY channel, easily manage channels which support TTS in our UI.
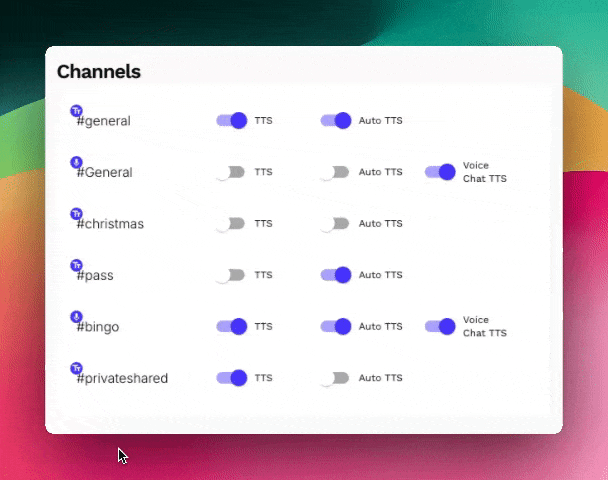
To access the management UI above just follow these steps:
- Link a ShareVoice.io account to your Discord server via the
/linkcommand. You'll need to have Manage Server permissions for whatever Discord server you're linking to! - Once completed you can run
/settings& click the link provided to access the management dashboard.
Want to talk in voice channels as well? No problem, we've got you.
- Run the
/say [your message]command in the voice channel's chat and the bot will join the voice chat & read your message. - If nothing happens, don't despair! It sounds like that voice channel doesn't have Voice Chat TTS enabled. This is not enabled by default but can be quickly be enabled following the steps in the section above.
We also offer a few other nifty features for managing your server's TTS!
- Role specific access. Easily select specific roles that may use the bot.
- Set a default voice for everyone.
- Add a "@User said" before all messages; Which is particularly useful for voice channels where multiple people want to use the same voice.
- Using "Auto TTS" will automatically make anything said turn into TTS so you don't have to write that pesky
/sayevery single time you want to say something; This is really useful for voice channels where someone can't talk and wants to quickly communicate!
‼️ Configuration changes made in the dashboard will take a minute or two before they reach your server!
Our aim in making this bot was to build something which gave a very easy view of how things are set up for a server & give voices a chance to be used anywhere.
While the bot is free to use we have limitations on the size of your messages & the number of free messages a server gets every month.
If you find yourself really loving the bot you can support us by upgrading to Lux so we can make awesome things for communities & creators.